


Summery weather got you wanting to make the switch to iced coffee but you don't know how? Spent all winter perfecting your pourover technique and don't want to waste the effort? This is the post you've been looking for.
Let's start with the basics. A pourover recipe should include:
- a weight of coffee (dose),
- a weight of brewing water,
- a grind size,
- a total drip time,
- and some technique (blooming, pour timing, stirring, swirling, etc.)
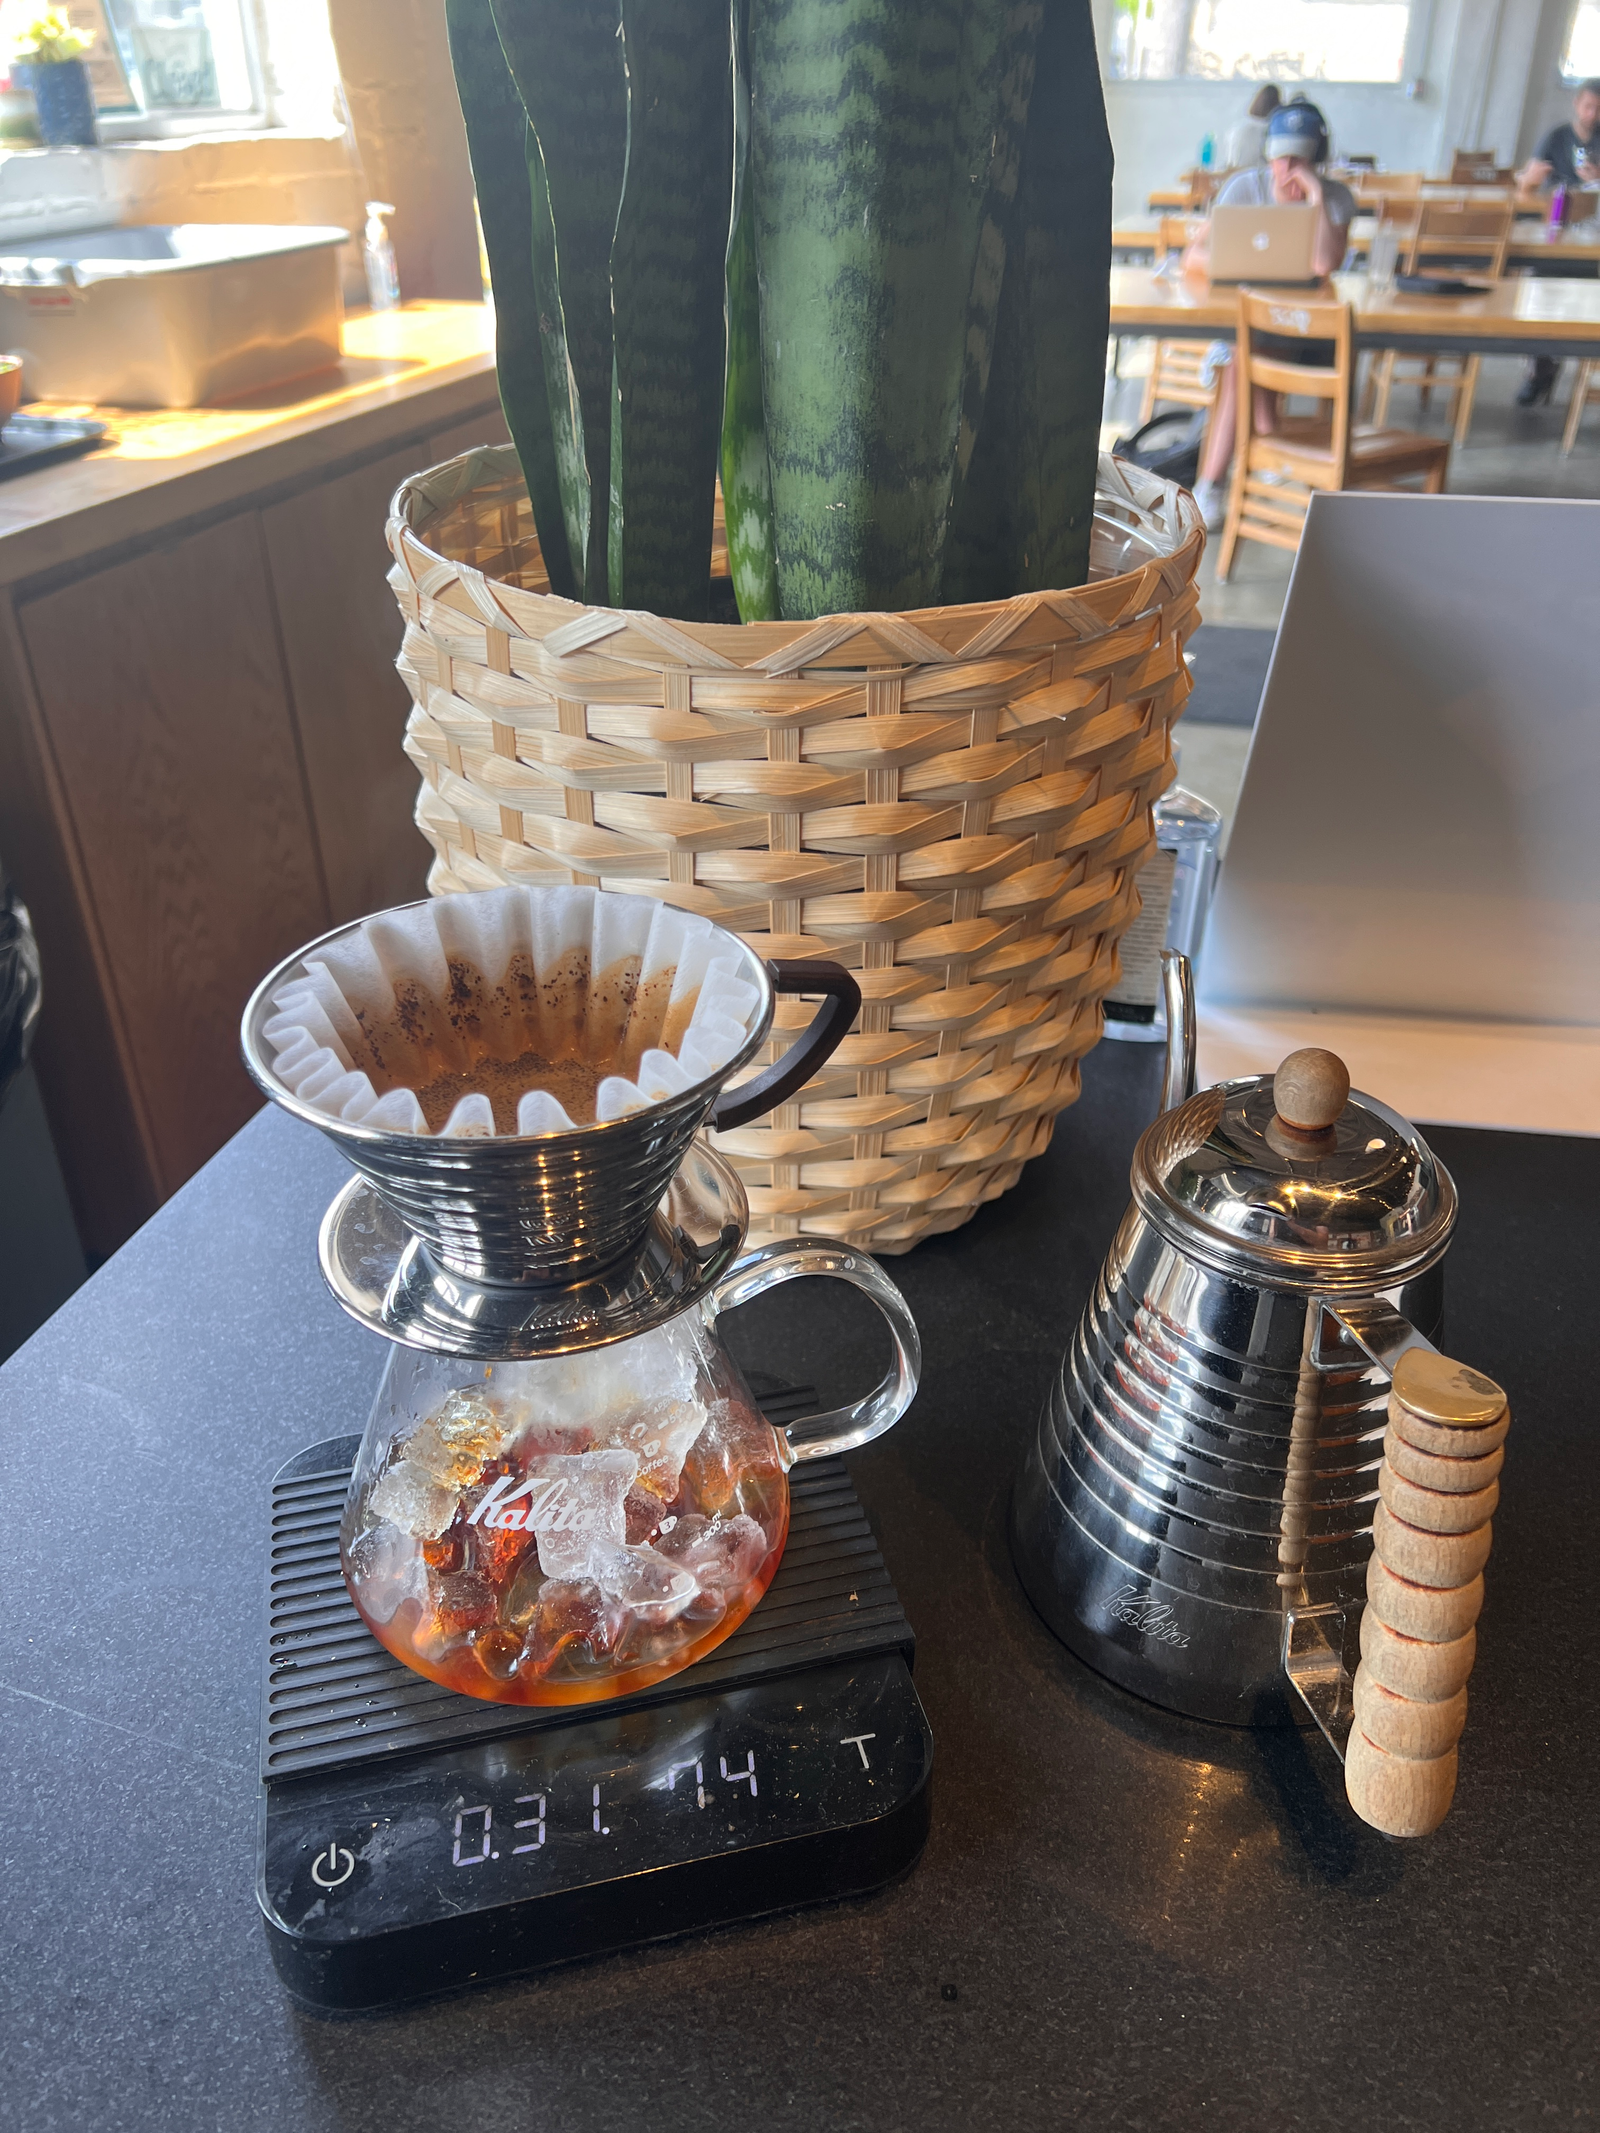
Take your coffee dose and multiply by 2. Subtract this from your water weight, then divide by 2. This is the weight of ice you will use. Add it to the vessel you're brewing into before you start brewing.
Subtract your ice weight from your recipe's weight of brewing water. This is the weight of brewing water for your new recipe.
Reduce your grind size by adjusting your grinder 20-30% towards the finest possible setting, from whatever setting you were using before.
If the technique in your recipe calls for multiple pours (not counting the bloom), increase the time between pours by 10-15 seconds. If it's more than 2 pours after blooming, also reduce this number by 1.
If your recipe uses a single, slow pour, then try to pour even slower, if possible.
Increase your bloom time to 45-60 seconds, unless your recipe already called for more than that.
Keep all other technique the same.
Your total brew time should end up shorter than your original recipe, but only by 10-20%
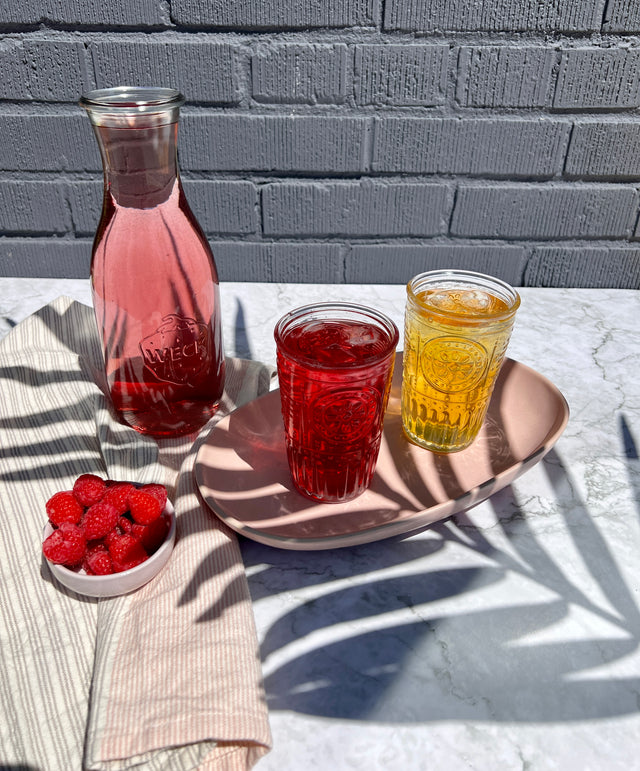
Serve the coffee over additional ice as desired.
Tweak your new recipe as needed by making small adjustments.
EXAMPLE:
20g coffee / 340g water / grind at 16 / 50g bloom for 30 seconds / remaining water in 3 pours at 0:30, 1:00, and 1:30
becomes...
20g coffee / 150g ice / 190g water / grind at 13 / 50g bloom for 45 seconds / remaining water in 2 pours at 0:45 and 1:30